
Introduction
When I first started writing this blog, I opted for a theme called hyde-hyde, based on the Hyde theme for Jekyll. The theme is lovely, with a great two-column interface and the ability to rearrange itself when displayed on mobile devices. However, from the very beginning, I was annoyed that content was rendering very narrow, rather than expanding to fill the width of the page. Here’s a screenshot of how it used to look:
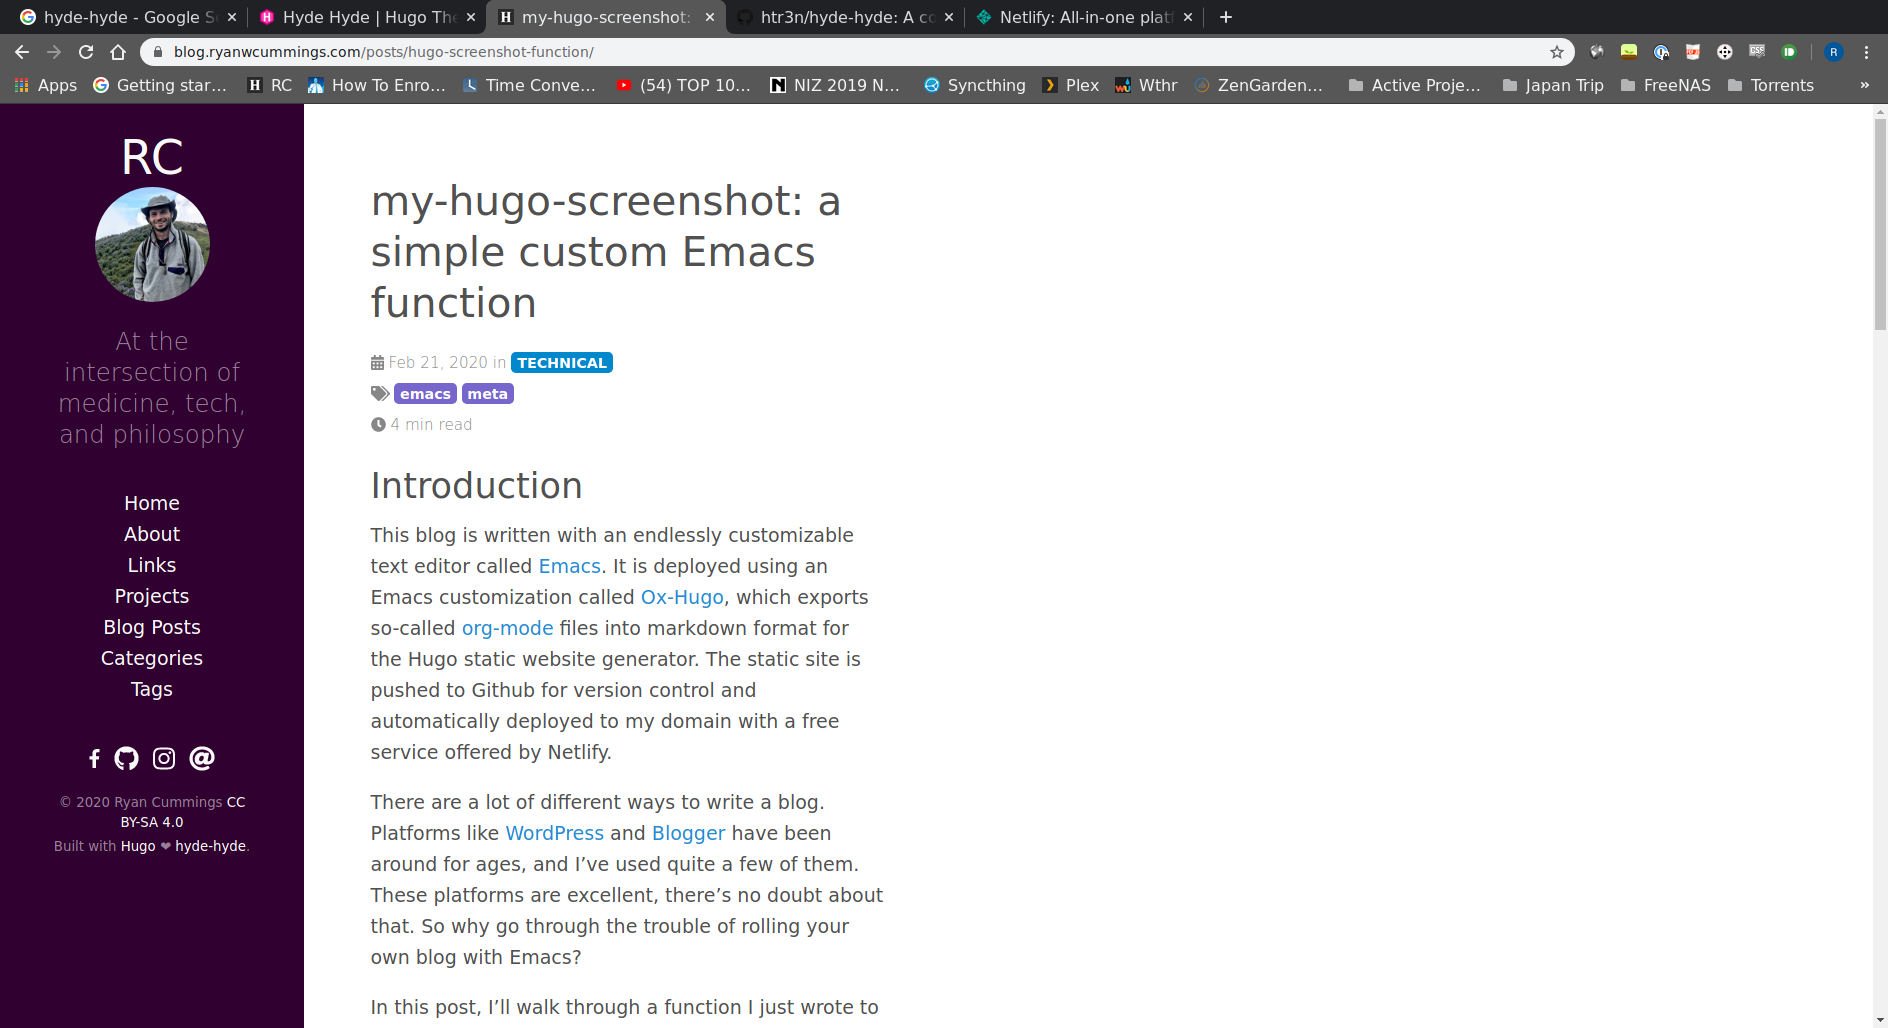
And here it is now:

How did I accomplish this? Read on, dear reader.
The Steps
The following steps are for the Hyde-Hyde theme specifically, but should apply just as well to any theme.
1) Fork the theme repo
This was a critical step for a newbie to Git like me. The general Git structure of a Hugo blog is a master repository for the blog content, with a submodule that holds the theme. Most Hugo themes have installation instructions for installing them as submodules. If you plan to make any changes to the blog, you have to fork the theme first before you install it as a submodule. Basically, forking the theme lets you make and commit changes to your own personal copy of the theme, without messing up the original theme you copied from.
2) Add the forked repo as a submodule
Adding a repo as a submodule is as simple as navigating to your blog’s themes directory and running the following:
git submodule add *https-route-to-your-forked-repo*
Using https to add your forked repo is not strictly necessary if you have SSH set up on GitHub. But, as I found out the hard way, it is absolutely necessary if you need Netlify. This is because Netlify clones all submodules when it builds your website from GitHub, and it can only talk to GitHub via https.
Deleting a submodule
By the way, if you ever mess up and need to delete a submodule, here are some instructions: To remove a submodule you need to:
- Delete the relevant section from the .gitmodules file.
- Stage the .gitmodules changes git add .gitmodules
- Delete the relevant section from .git/config.
- Run
git rm --cached path_to_submodule(no trailing slash). - Run
rm -rf .git/modules/path_to_submodule(no trailing slash). - Commit
git commit -m "Removed submodule " - Delete the now untracked submodule files
rm -rf path_to_submodule
The instructions are from a post on GitHub here. I had to do this an embarrassing number of times while figuring this thing out.
3) Find the variable of interest
It took me a lot of trial and error to figure out what variable was controlling the width of my content, but I eventually tracked it down to the following:
File: themes/hyde-hyde/assets/scss/hyde-hyde/_variables.scss
Variable: $content-max-width: 32rem
Changing this to something like 60rem was all it took. When I pushed the change to GitHub and the page reloaded, the width was fixed.
SCSS is completely new to me, but from what I gather, SCSS files are processed to programatically generate CSS. That’s why the variable that controlled width was in a special _variables file rather than in a CSS file. Changing the content-max-width variable anywhere else in the structure has no effect on the output CSS; only changes in the _variables file make a difference in the final output.
4) Commit and push your submodule and main git repo
At this point, you can commit all changes and push them up to GitHub. In a minute, Netlify should pick up the changes and your website should render with beautiful 60-rem-wide content. Tada!